How to Create Multiple Calendars for Your Office
- Brookelle Hunter

- Jan 5, 2021
- 1 min read
Updated: Apr 16, 2021
Many agencies only need one calendar on their agent portal for scheduling appointments, but some prefer to have multiple calendars assigned to different staff members.
If you want to create an additional calendar that our callers can use when scheduling your appointments, continue reading for the quick, step-by-step tutorial.
1. Login to the Agent Portal

2. From the main dashboard, navigate to the “Offices” tab

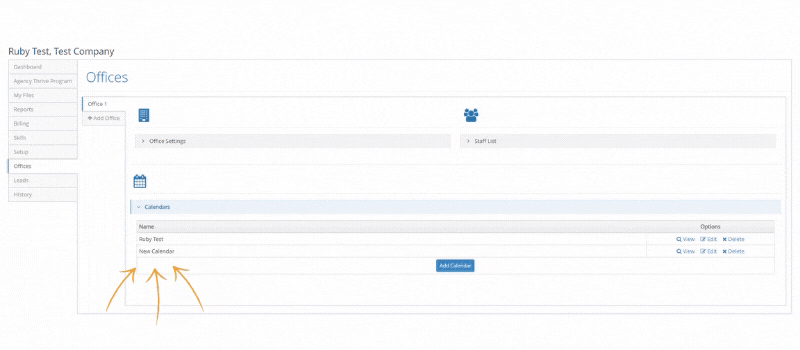
3. Open the “Calendars” section

4. Here, you’ll see the calendar(s) that are already active on your account. To create a new one, click the blue “Add Calendar” button.

5. A pop-up box will appear - this is where you’ll name and set up your desired parameters for this new calendar.
You can...
a. Assign the calendar to a specific staff member
b. Disable holidays if you want to hold appointments on that day
c. Select the available appointment times you’d like on a typical week
6. Click Save
7. Now, you should see the new calendar on the list in the calendar section of the “Offices” tab.

Our callers will now be able to navigate between the multiple calendars when scheduling your appointments.
Make sure your account representative knows if you have a preference for which calendar our callers should try to fill first.
You can always reach out to your account manager if you have any questions or concerns - customerservice@engagex.com or 800.515.8734


Comments